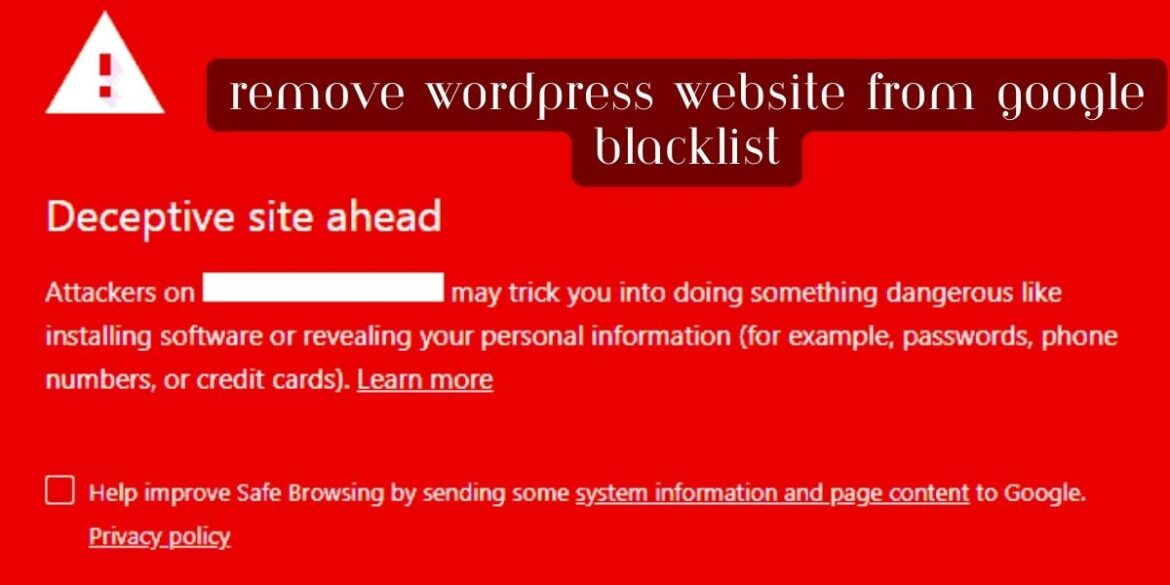
If your WordPress website has been blacklisted by Google, it means that Google has identified security issues or malware on your site and has taken steps to protect its users by flagging your site as potentially harmful. To remove your website from Google’s blacklist, follow these steps:
1. Identify and Remove Malware:
- First, you need to identify and remove any malware or security vulnerabilities on your website. Use security plugins like Wordfence or Sucuri to scan and clean your website. Ensure all themes and plugins are up to date.
2. Clean Hacked Files:
- Manually review your website’s files and database for any suspicious code or files that may have been injected by hackers. Remove or replace any compromised files.
3. Secure Your Website:
- Improve your website’s security to prevent future attacks. This may involve changing passwords, implementing strong security practices, and using a web application firewall (WAF) to block malicious traffic.
4. Request a Review in Google Search Console:
- If your website was blacklisted, you should have received a notification in Google Search Console. Log in to your Search Console account, go to the “Security & Manual Actions” section, and follow the instructions to request a review. Google will re-evaluate your site for security issues.
5. Verify Ownership:
- Google may require you to verify ownership of your website to initiate the review process. Follow the verification steps provided in Google Search Console.
6. Document Your Fixes:
- When requesting a review, provide a detailed description of the actions you’ve taken to clean and secure your website. Be transparent about the steps you’ve taken to rectify the issue.
7. Wait for Google’s Review:
- Google’s review process may take some time, so be patient. Once they complete the review and are satisfied that your website is clean and secure, they will remove it from the blacklist.
8. Monitor Your Website:
- Continue to monitor your website for any signs of malware or security vulnerabilities. Implement security best practices to prevent future issues.
9. Check for Blacklist Removal:
- You can use online tools like “Google Safe Browsing” to check if your website is still blacklisted. If the warning message no longer appears, your site has likely been removed from the blacklist.
10. Maintain Regular Backups: – Keep regular backups of your website so that you can quickly restore it to a clean state in case of future security incidents.
Remember that it’s crucial to address the root cause of the security issue to prevent a recurrence. Regularly update WordPress, themes, and plugins, use strong and unique passwords, and employ security measures such as firewall protection and regular security audits to keep your website secure and prevent future blacklisting.